
Adding Secrets
Unless you are running theoracle or nop agents which do not require API model inference, the first step will be adding your API secrets.
On the Harbor Hub, everything is owned by organizations. This includes jobs, trials, packages, and secrets.
When running remote rollouts, secrets will be selected from the organization chosen to own the job.
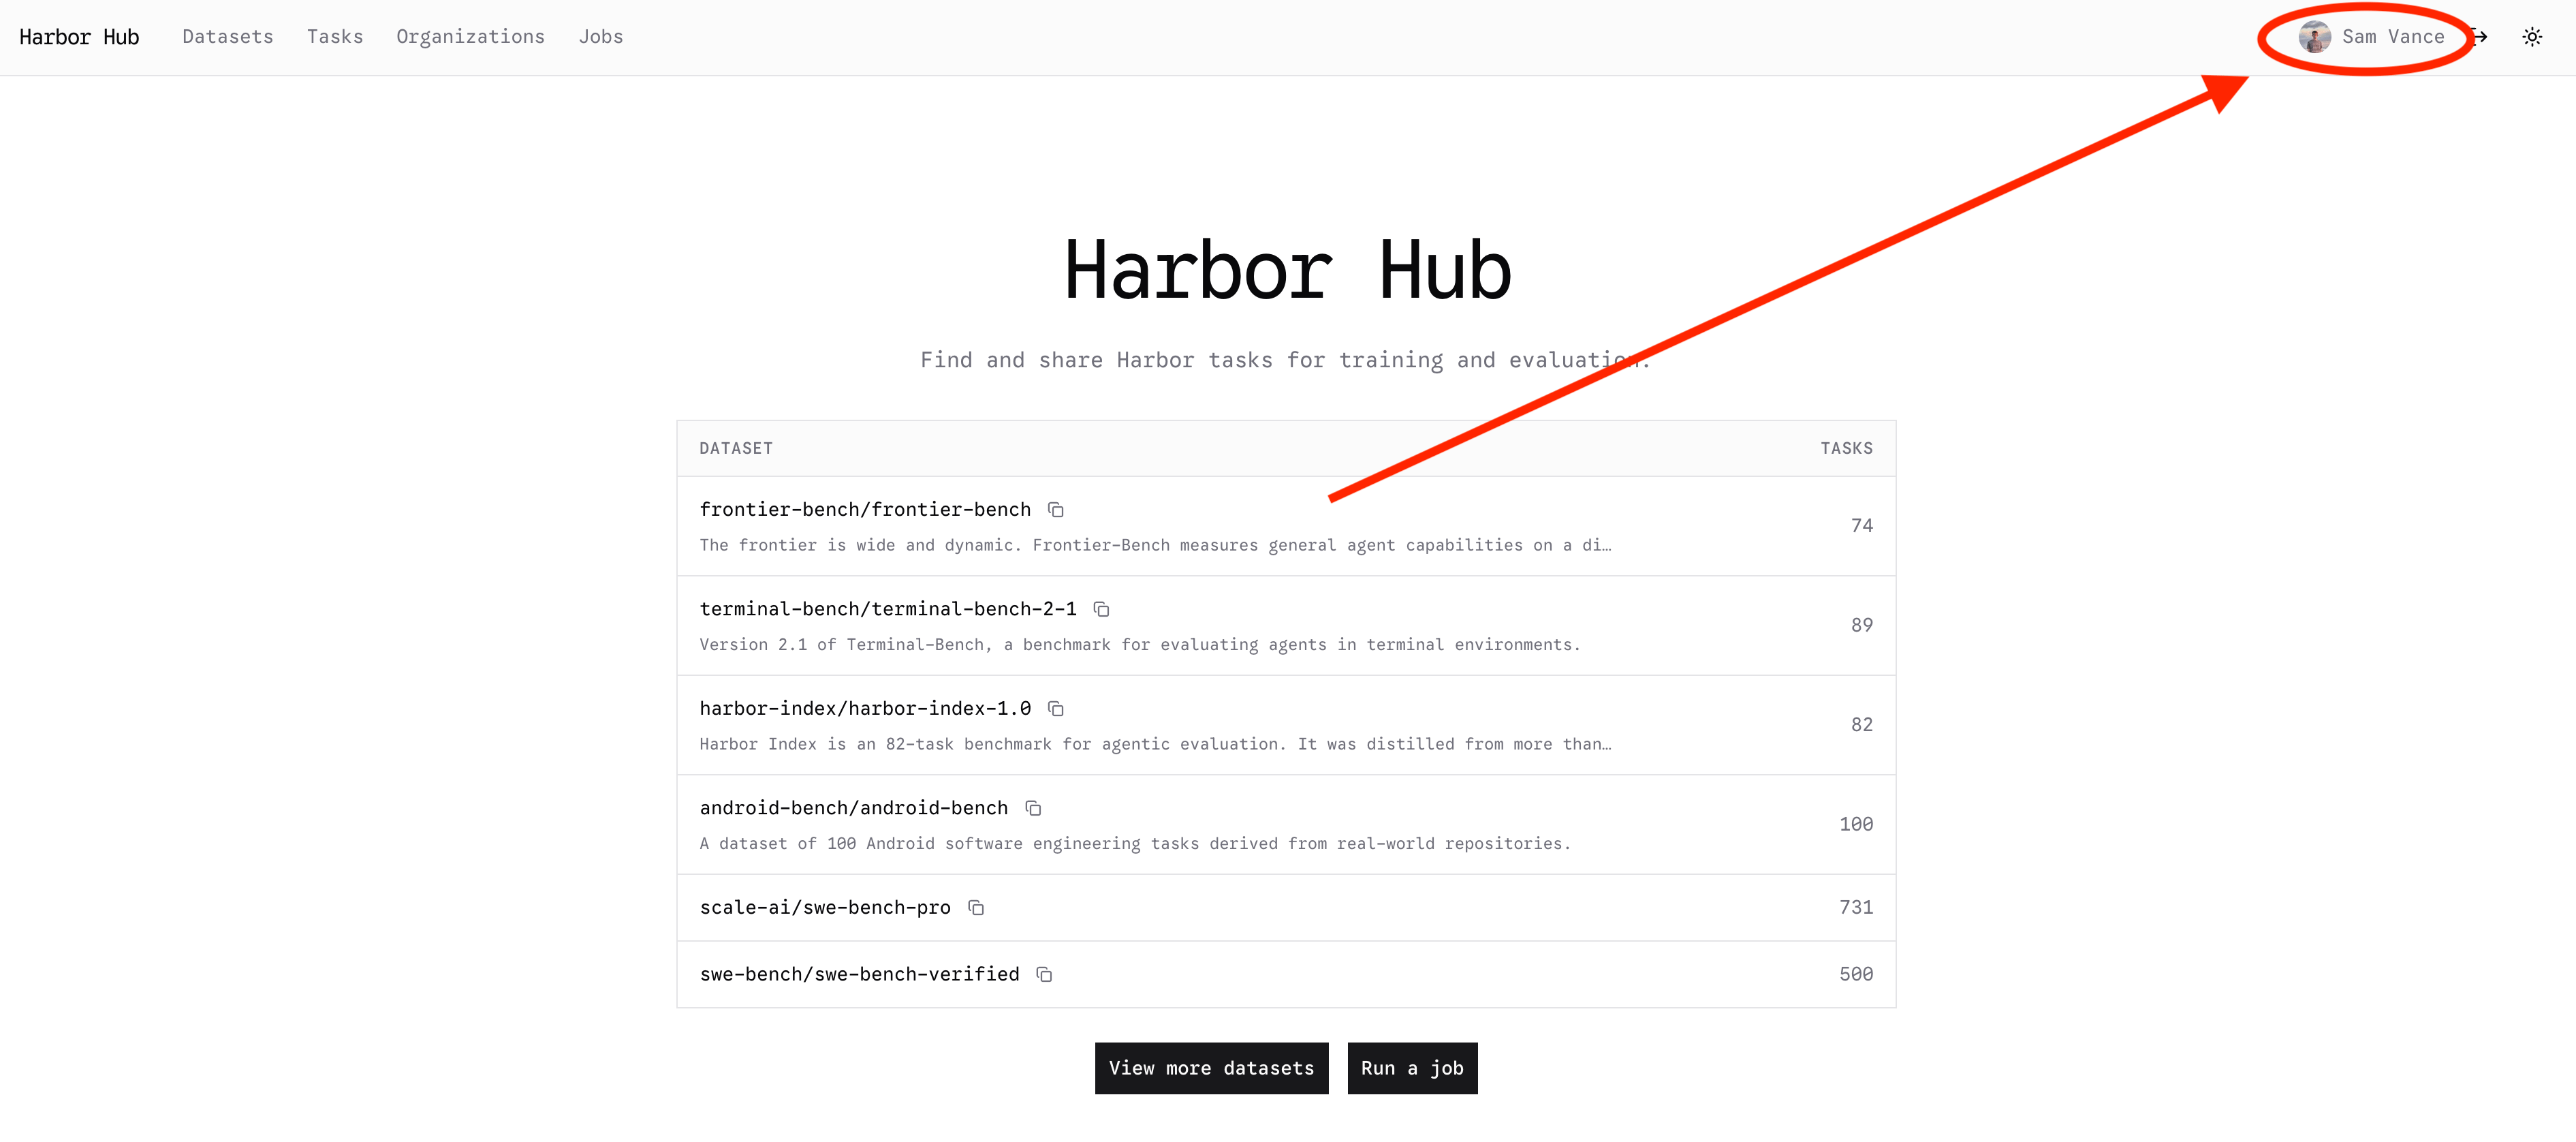
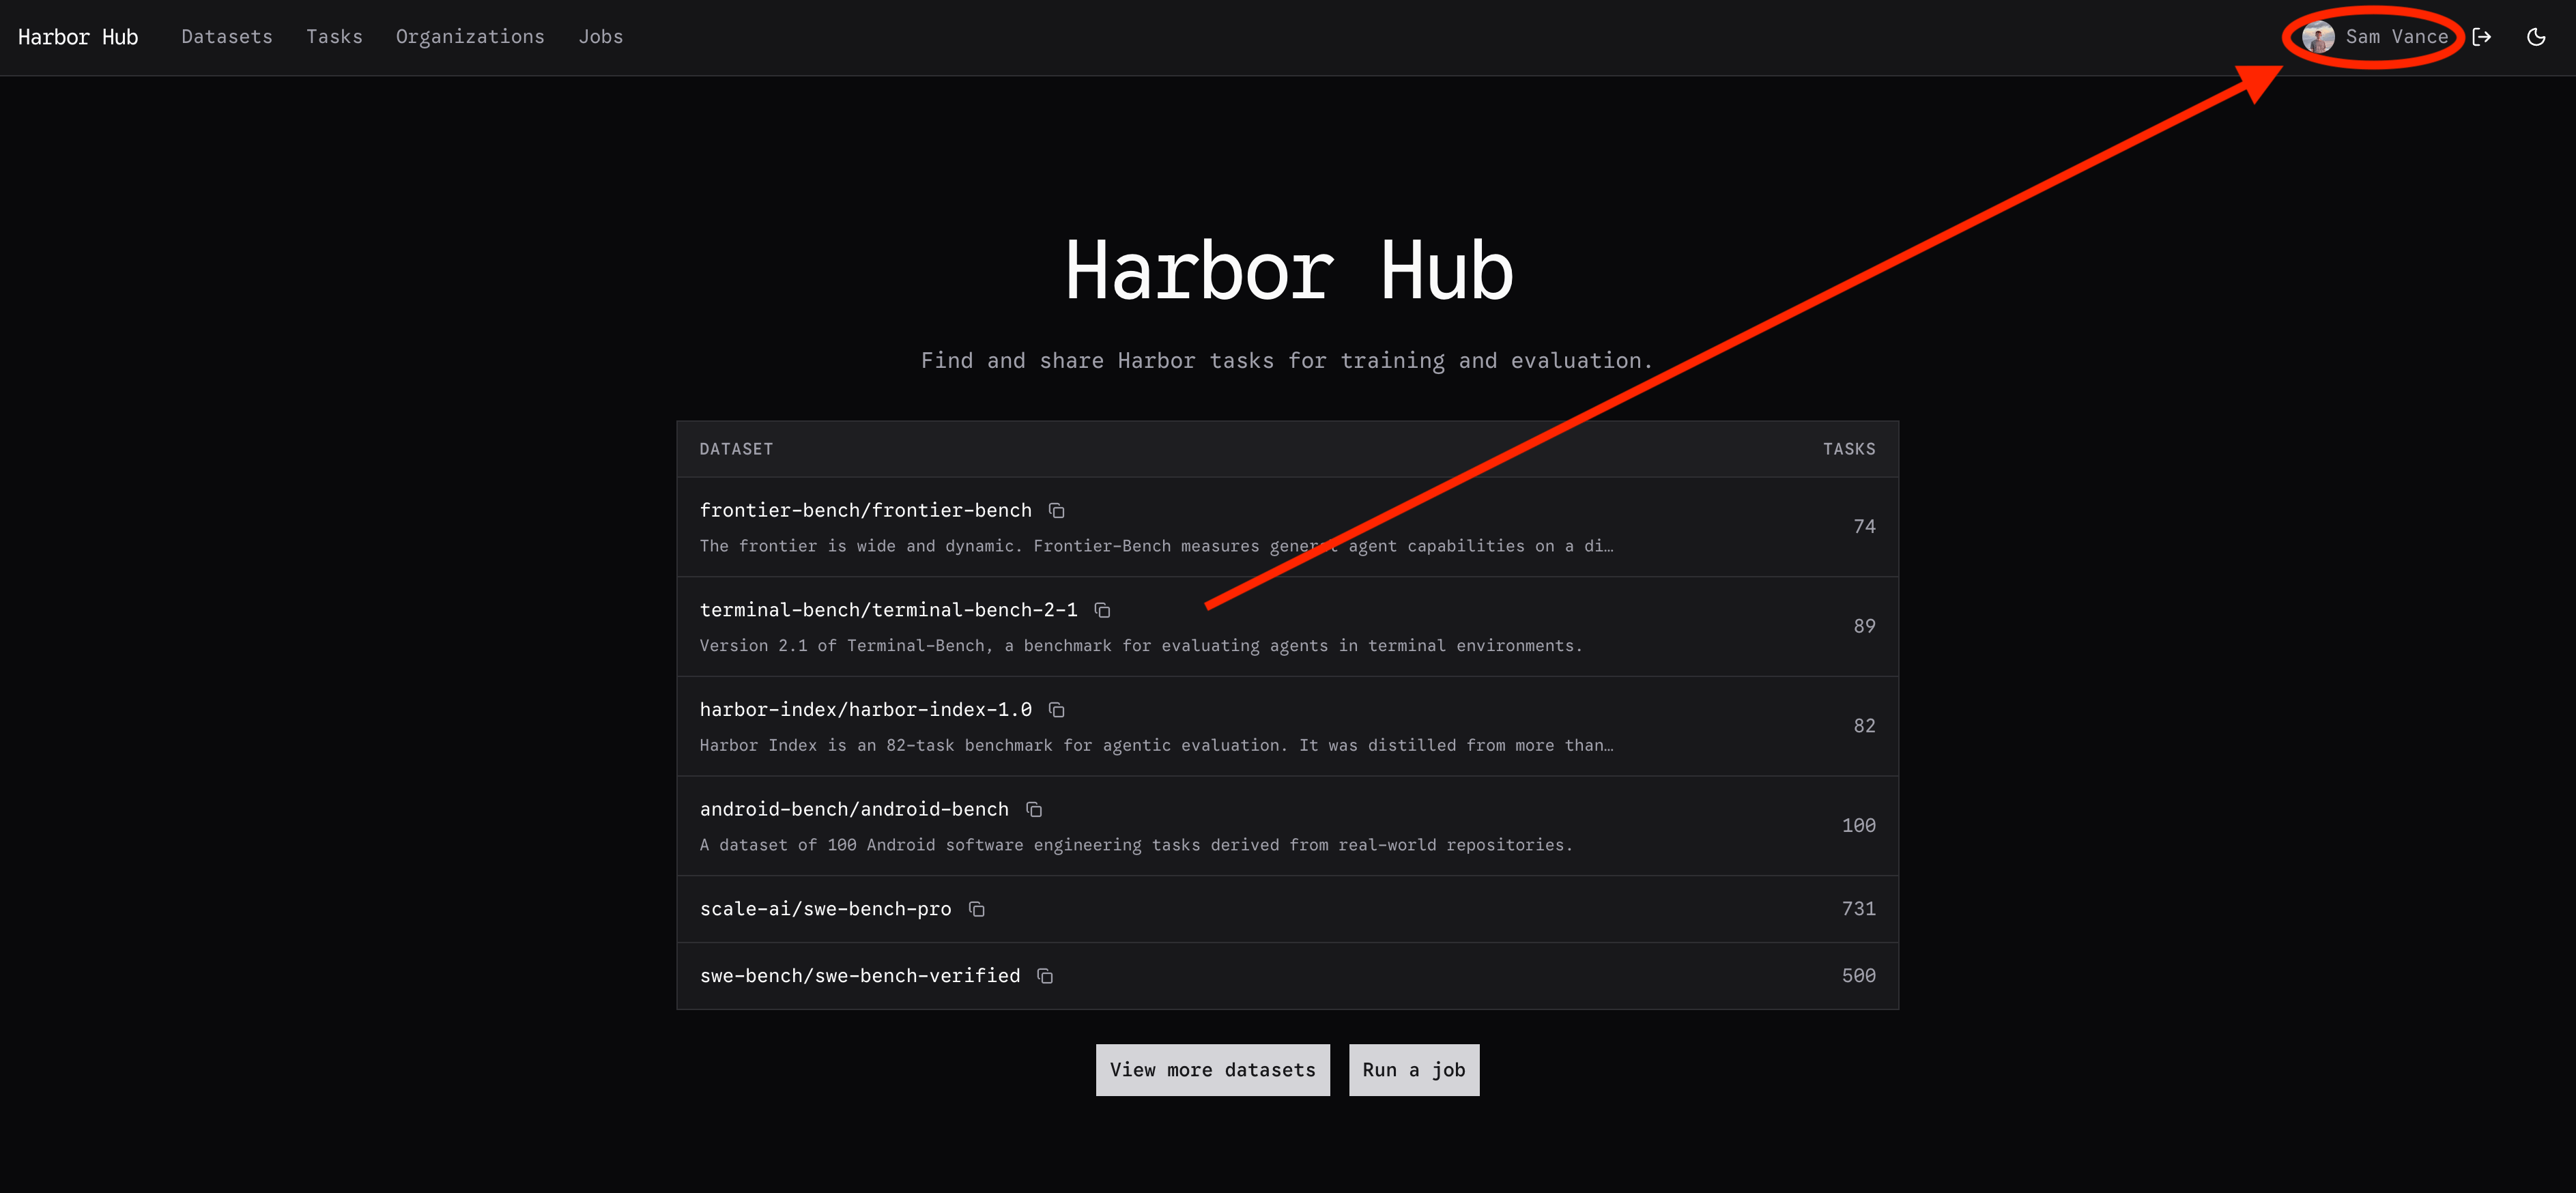
To add secrets to your personal org on the Web UI, first go to The Hub
Click on your profile in the top right corner:




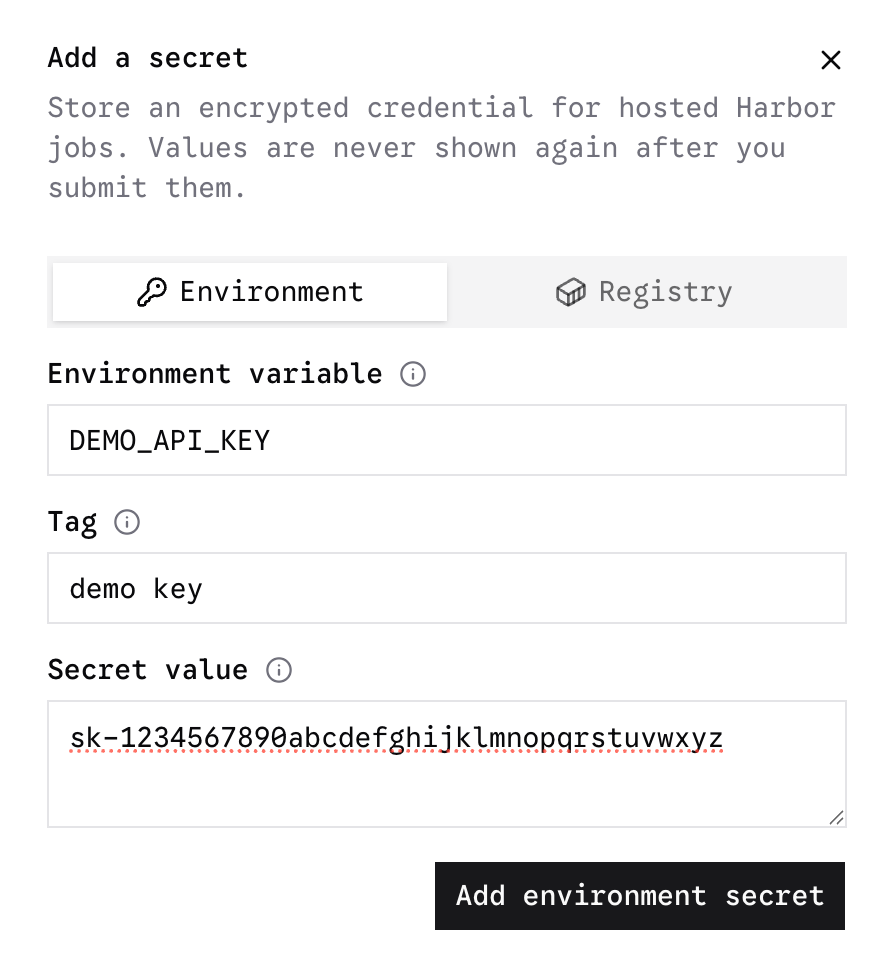
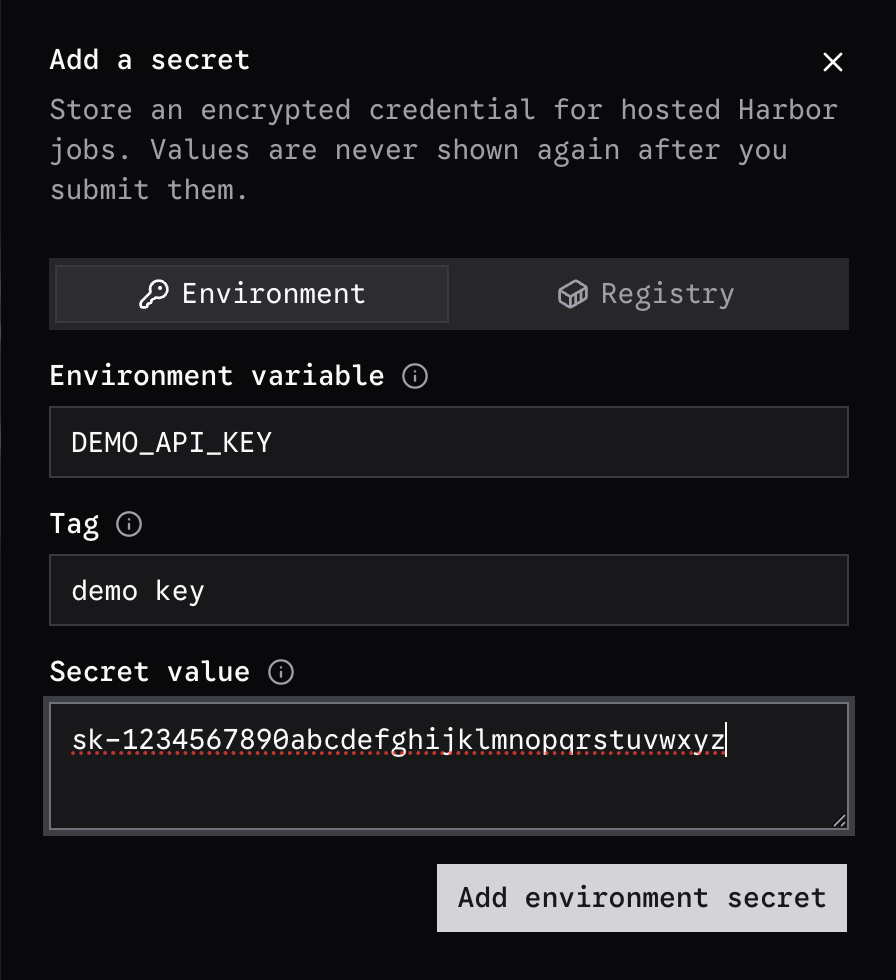
Adding Secrets To Organizations
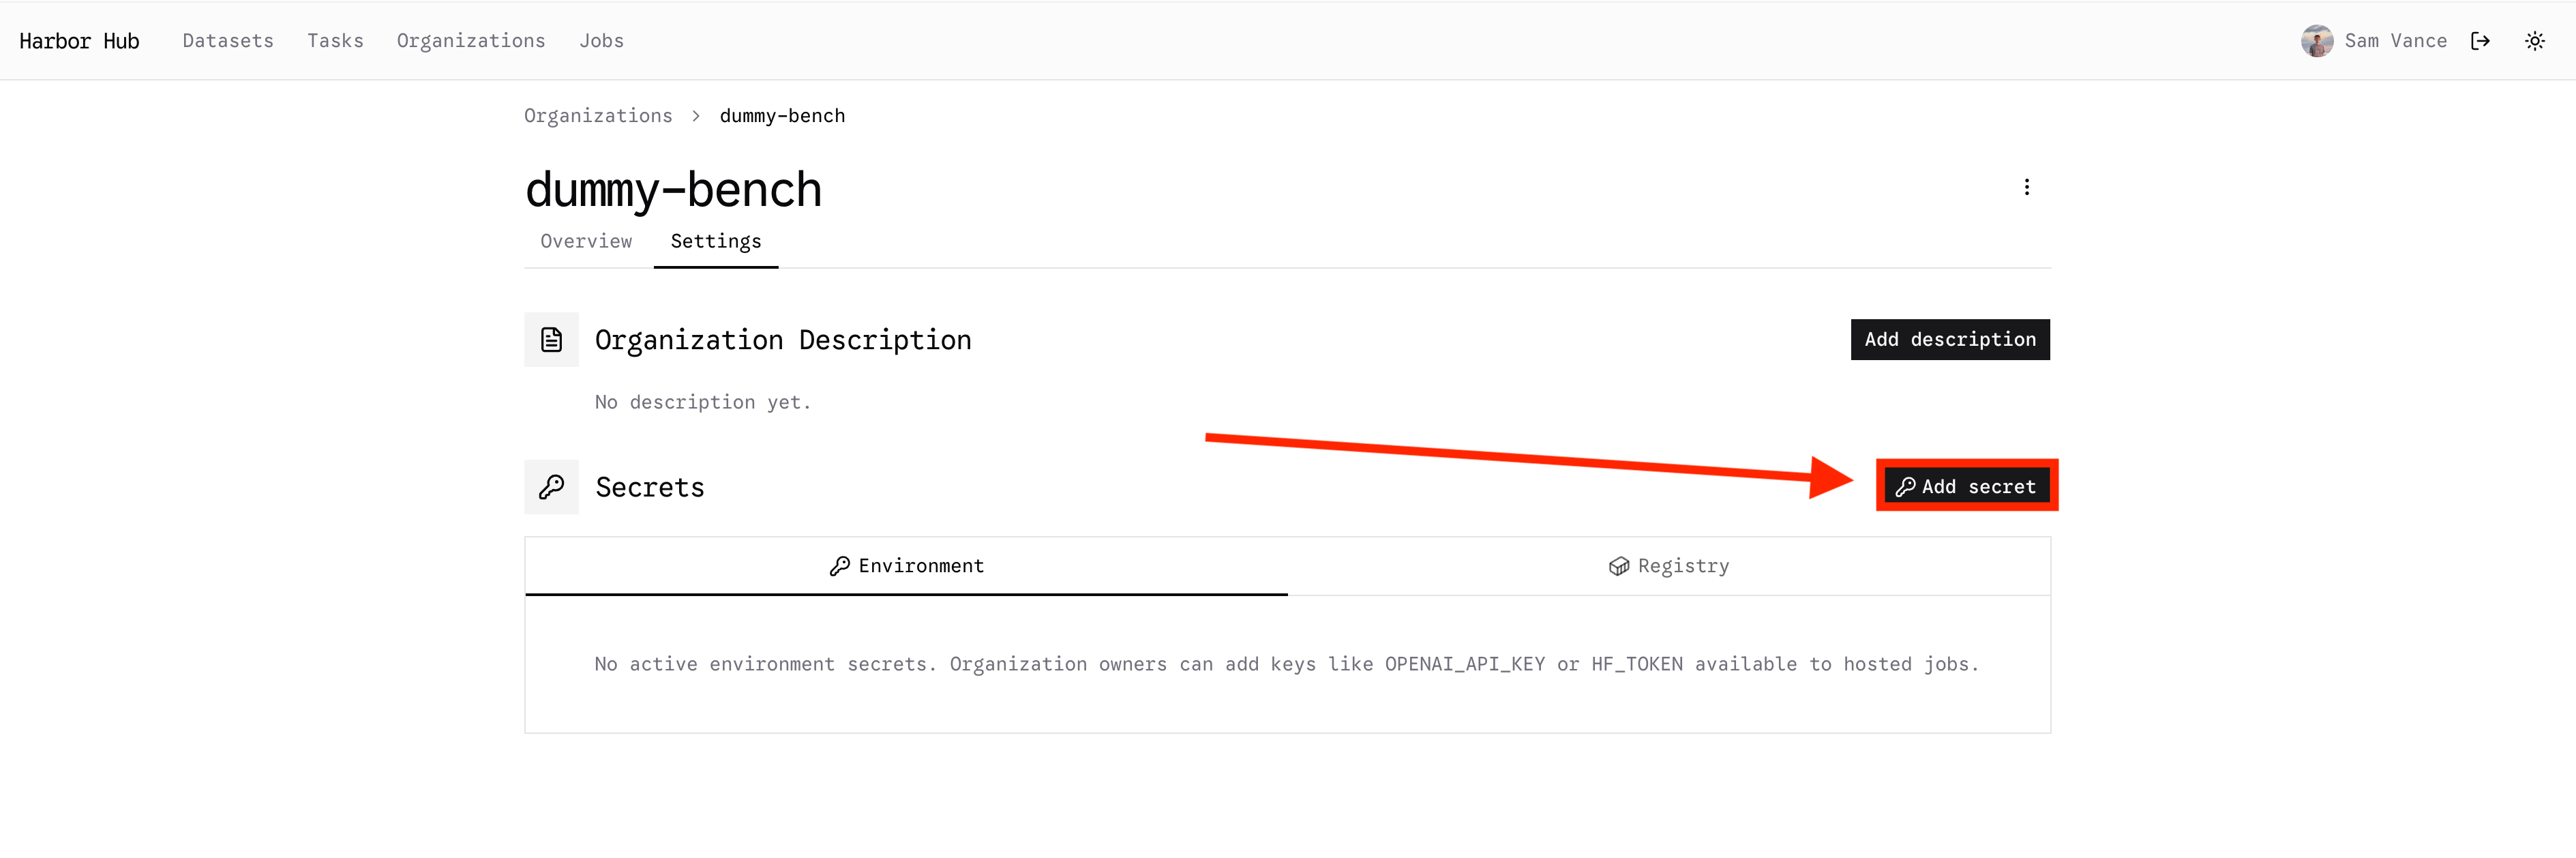
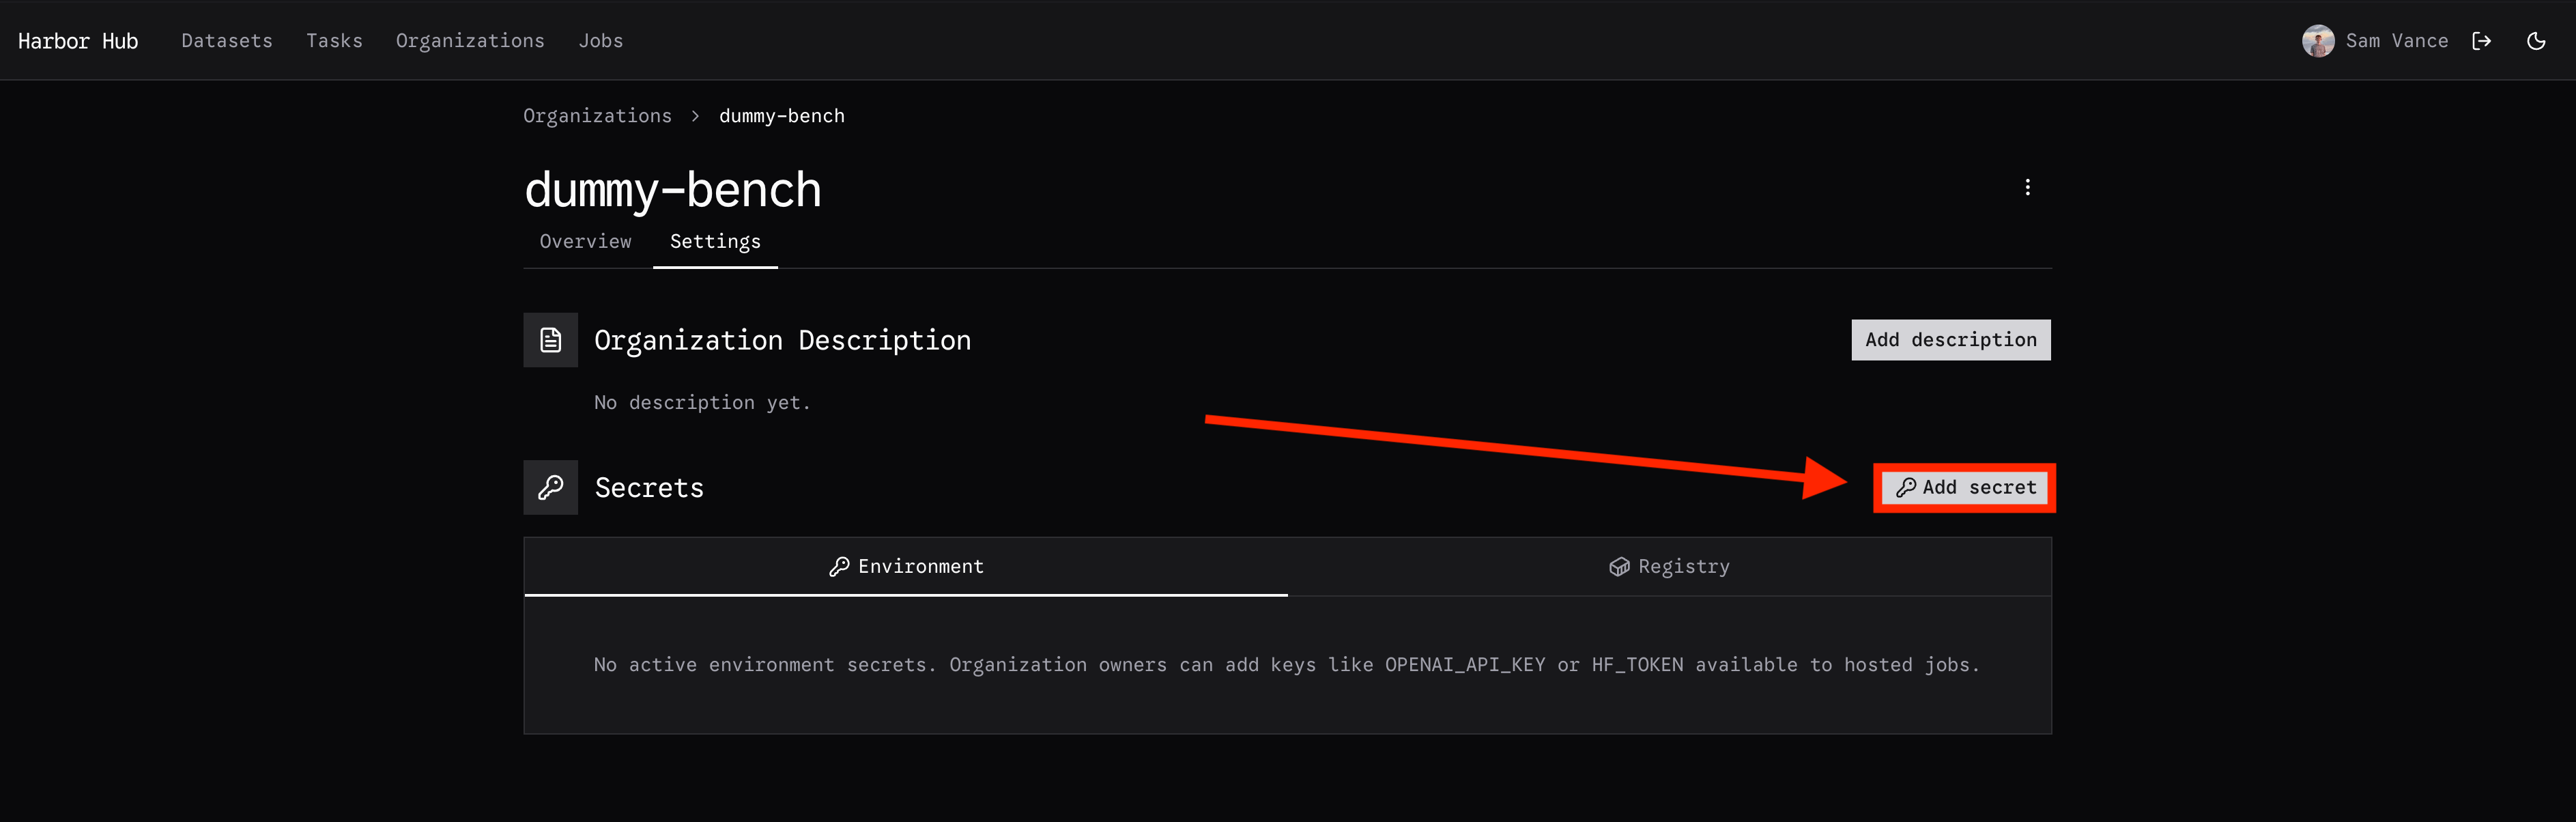
To add a secret to an organization you own, click the “Organization” button on the top of the page: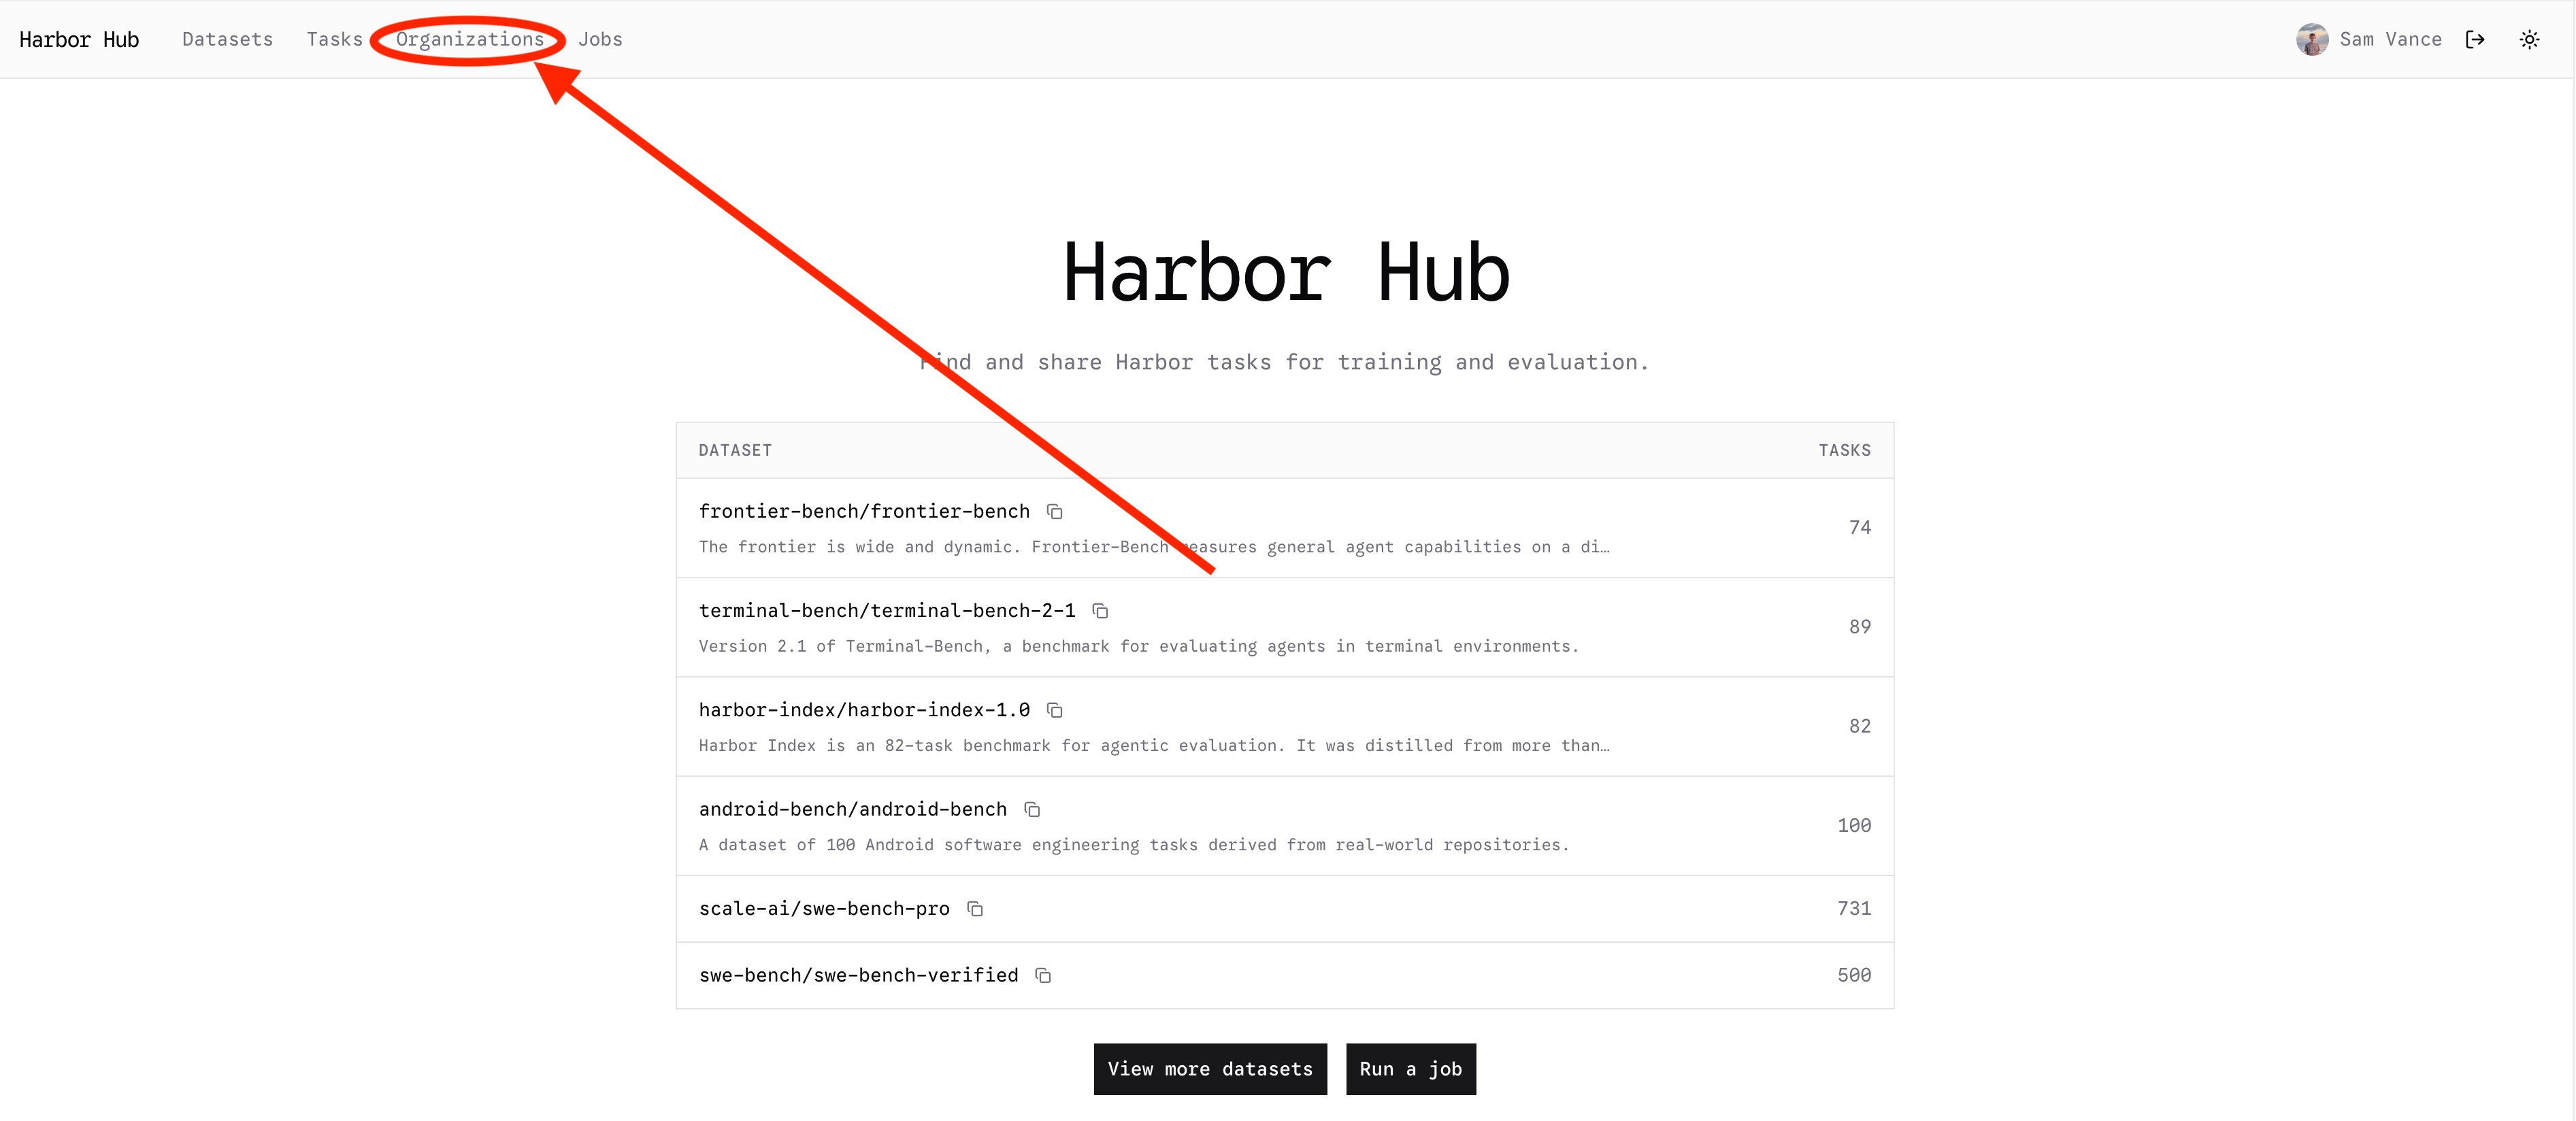


Launching a Job
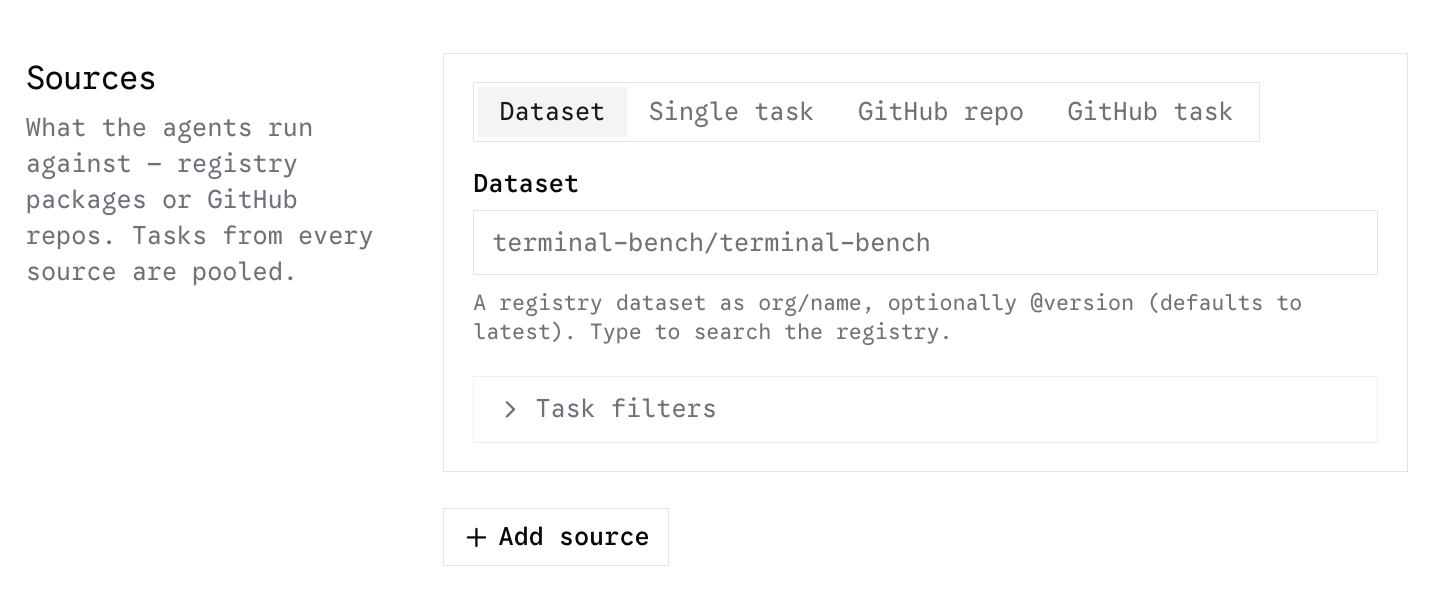
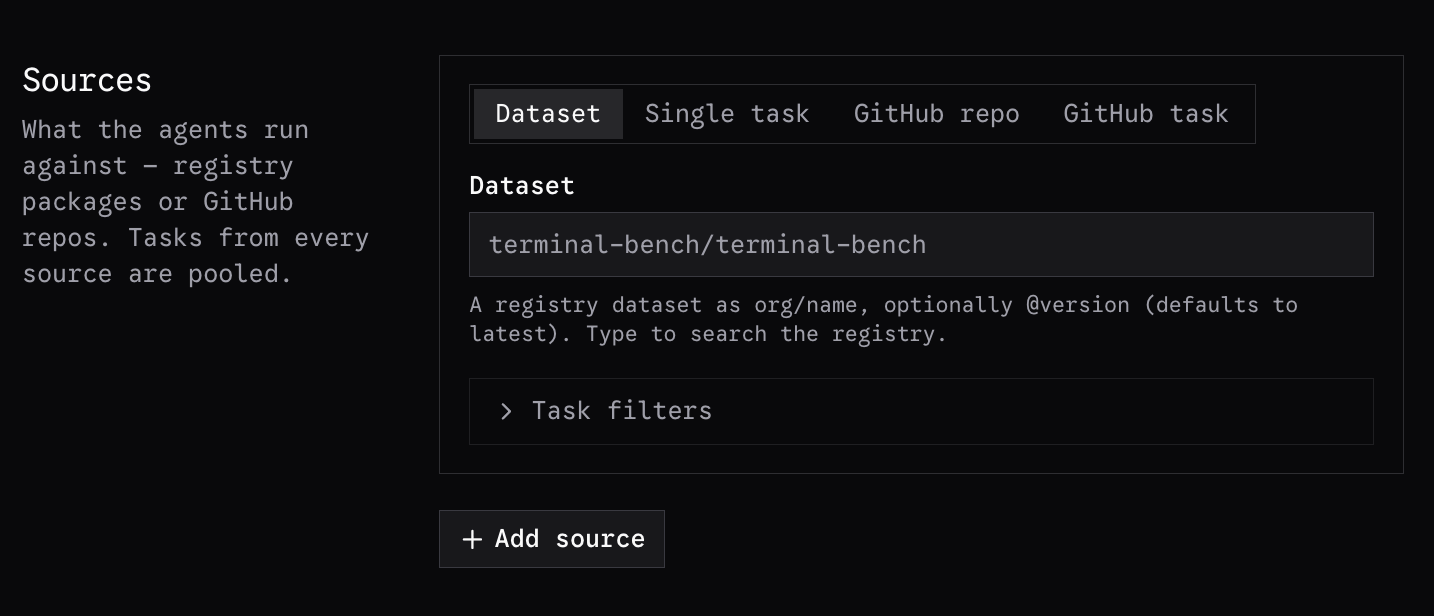
After adding your secrets, go to the job launcher. First, select the organization that should own this job.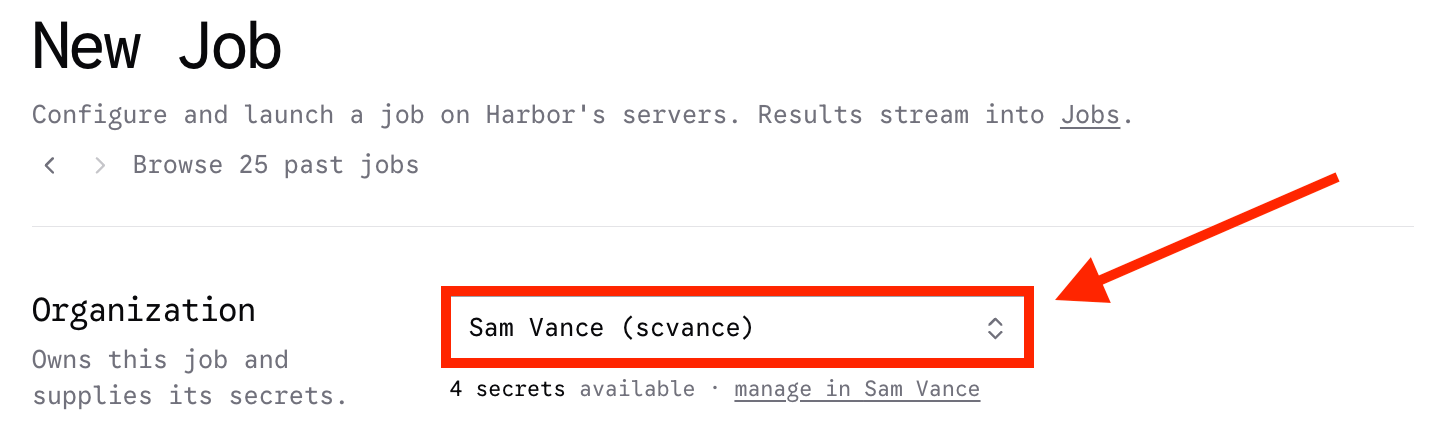
Adding Agents
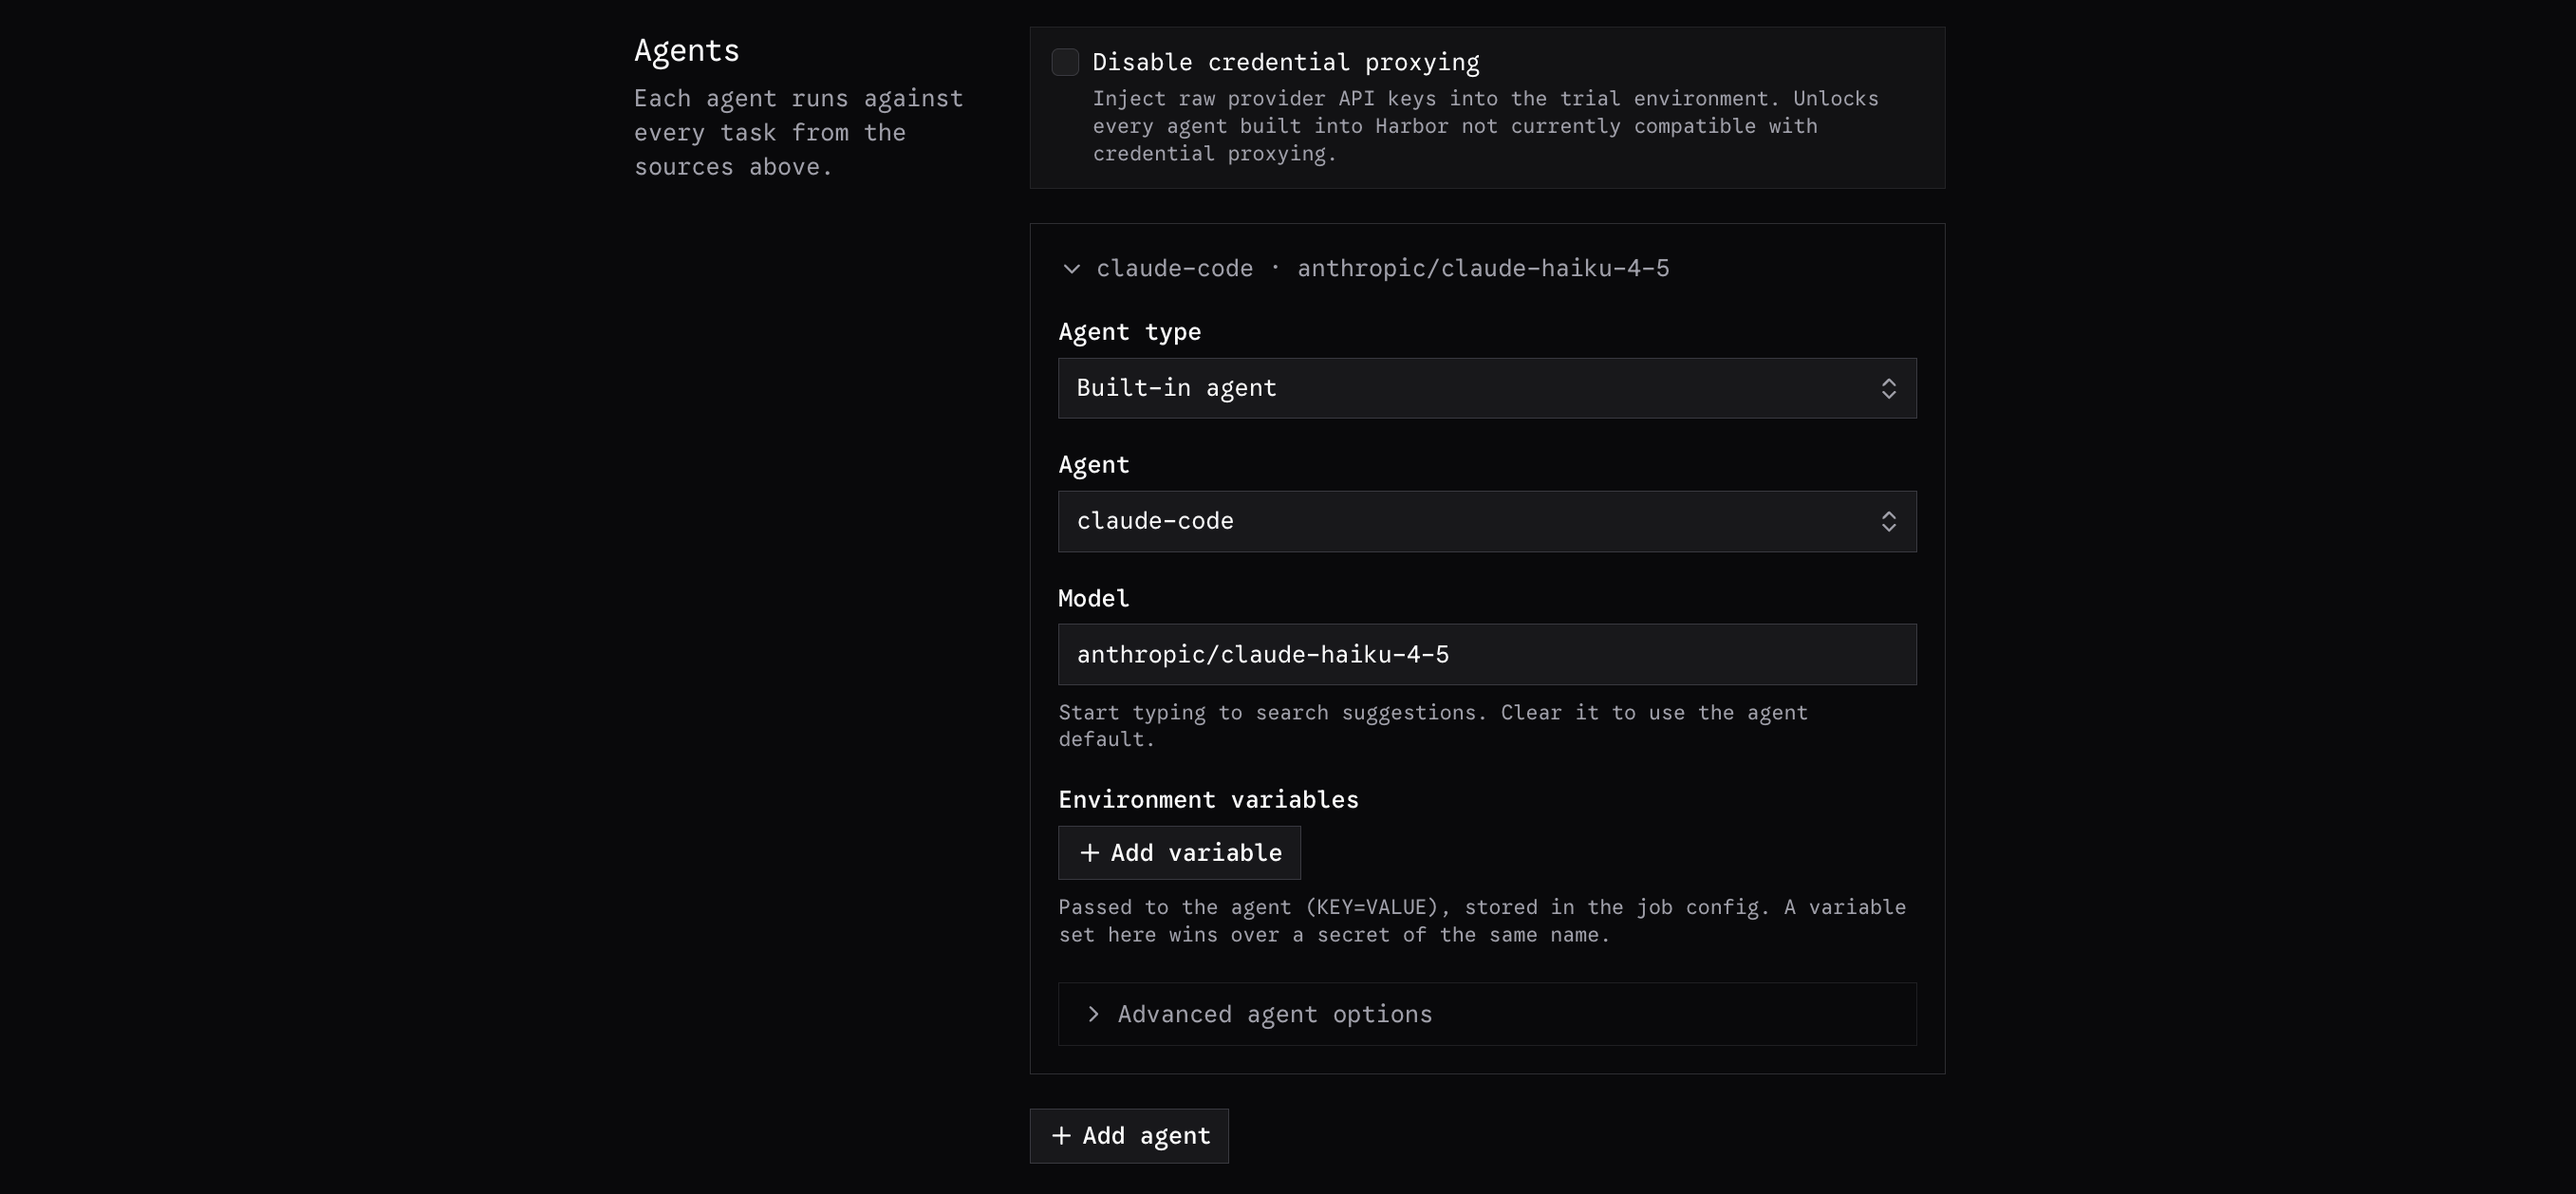
Next, select the agent/model combinations that you would like to evaluate. Harbor Hub defaults to direct credential mode, with Disable credential proxying checked. This injects selected credentials into the task sandbox, where agent code can read them. Gateway policy and accounting do not apply in direct mode. To opt into gateway mode, uncheck Disable credential proxying. Supported inference provider keys are then replaced with scoped proxy credentials. Selected non-provider secrets still arrive with their real values; see Agent Secrets for provider support and credential handling.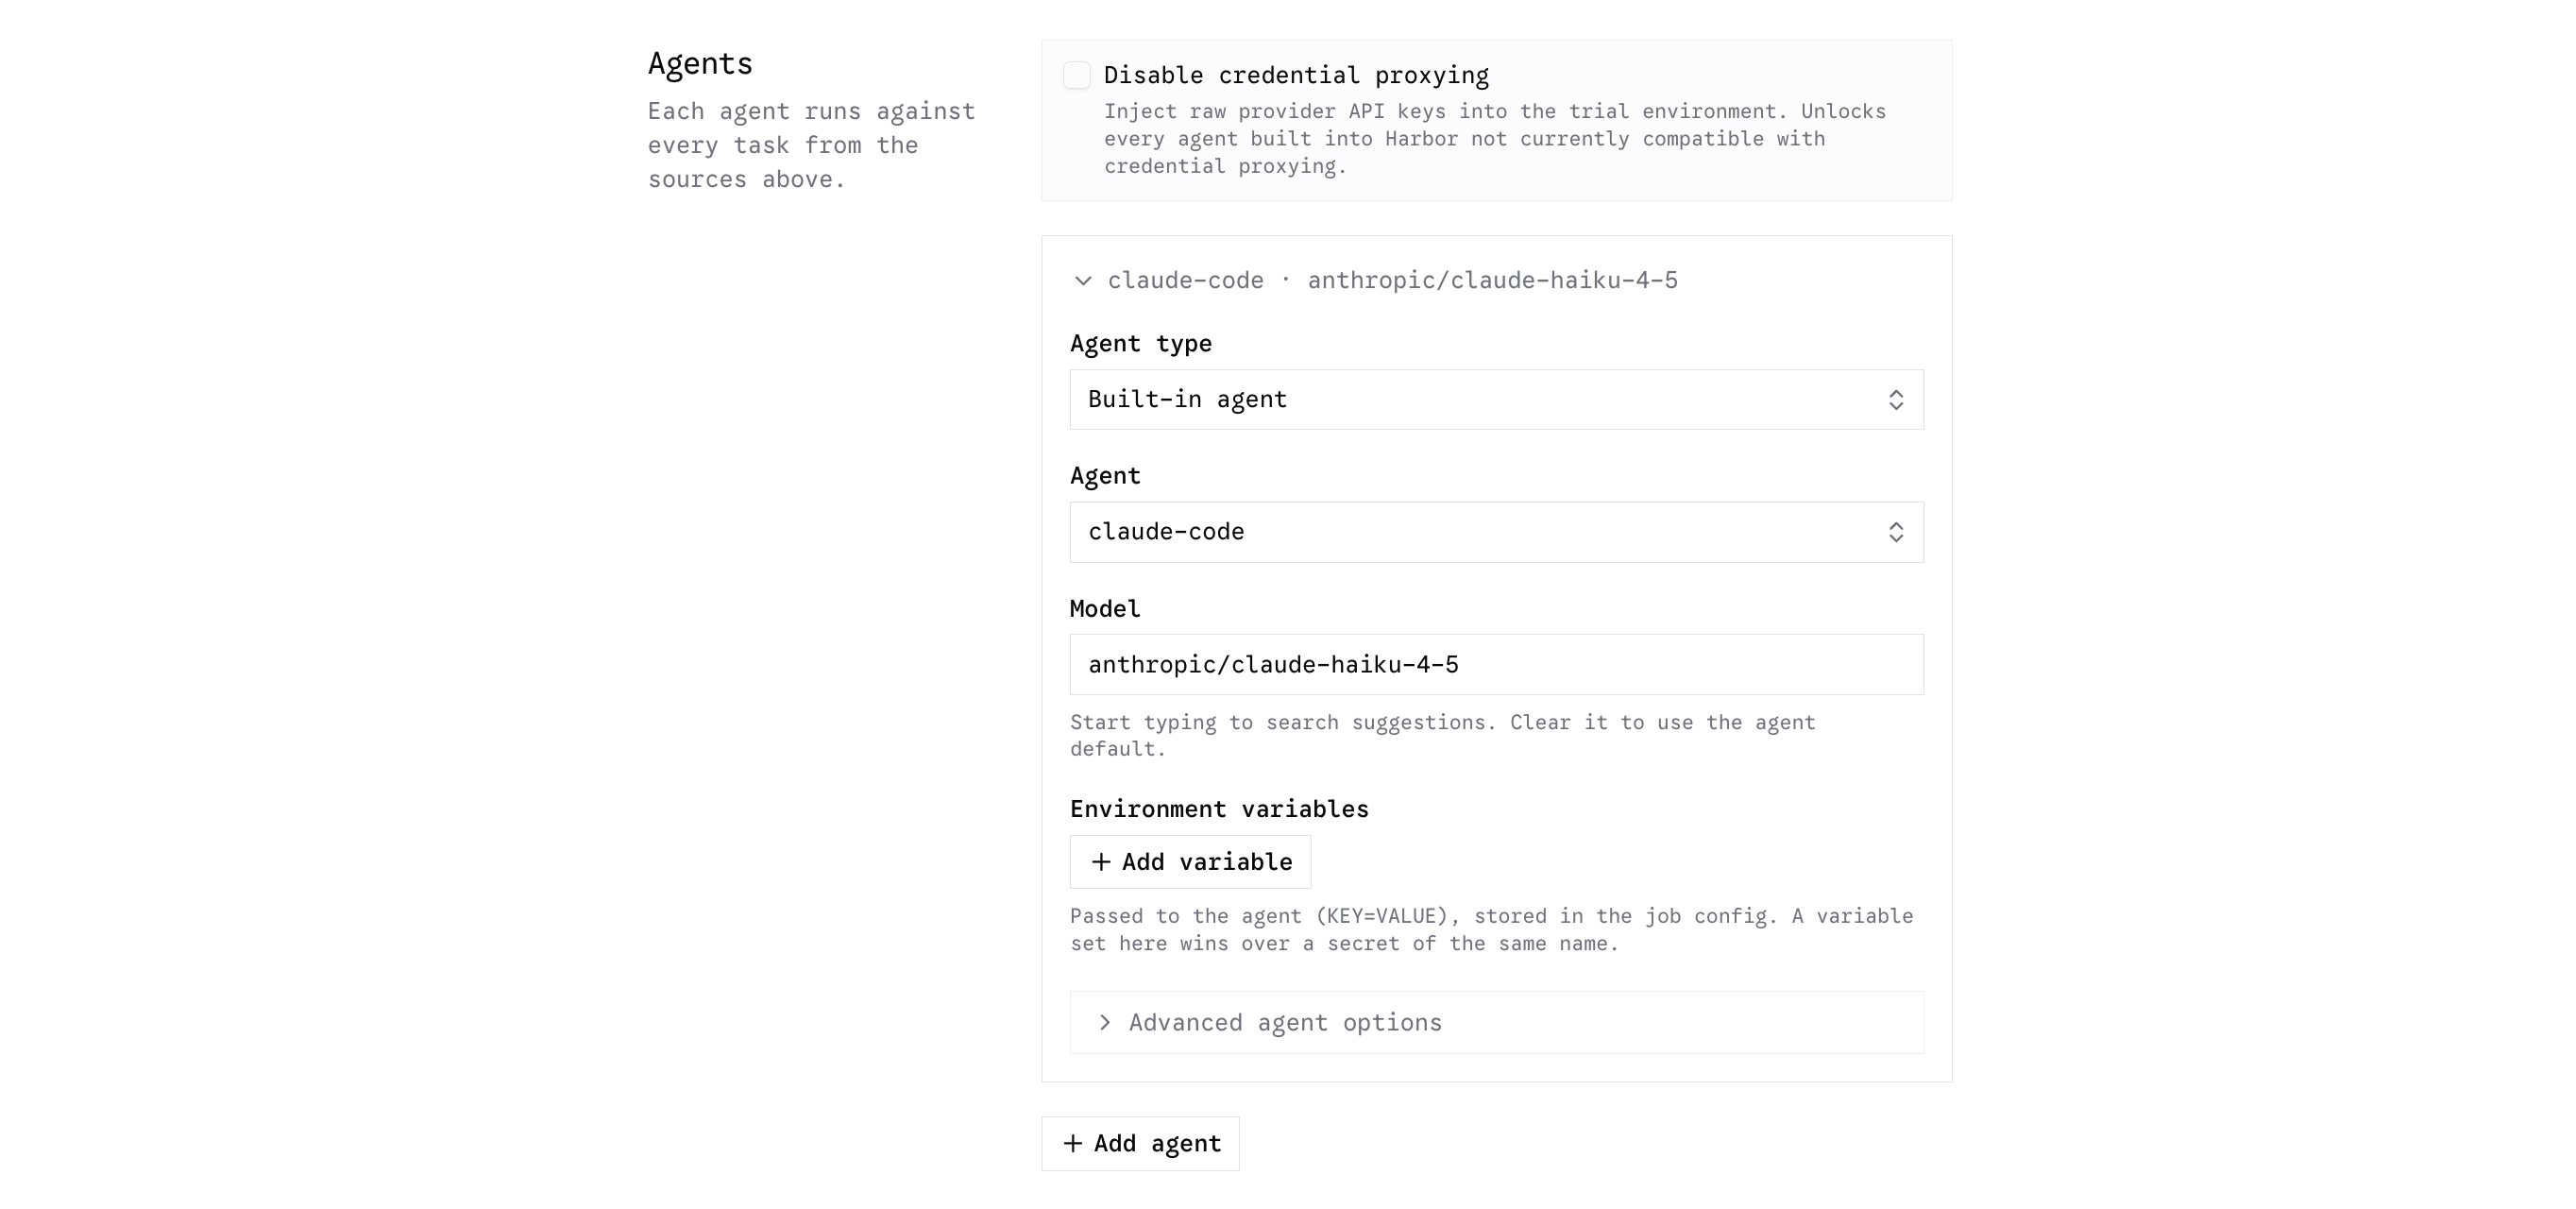
HOSTED_INFERENCE_TOKEN
for the selected model credential. Gateway mode also sets HOSTED_INFERENCE_URL; direct mode
leaves it unset, so use the provider’s normal endpoint. See
Custom Agents for the full contract.
After selecting your agent, you may add additional environment variables that you would like set.
THIS FIELD IS NOT FOR SECRETS. Environment variables placed in these fields are persisted plaintext
in the job config. Open Agent Configuration to configure the selected agent’s options.
Agents with a declared options schema show typed controls and descriptions for their supported
kwargs. You can also inspect a deployed agent’s options with
harbor agent schema claude-code --hub, replacing claude-code with the agent name.
Choosing Secrets to Inject
Once you have finished configuring the agents, choose which credentials each one receives. TheSecrets section lists the names of every secret uploaded to the
owning organization. You can select any number of them per
agent, including more than one inference provider key.
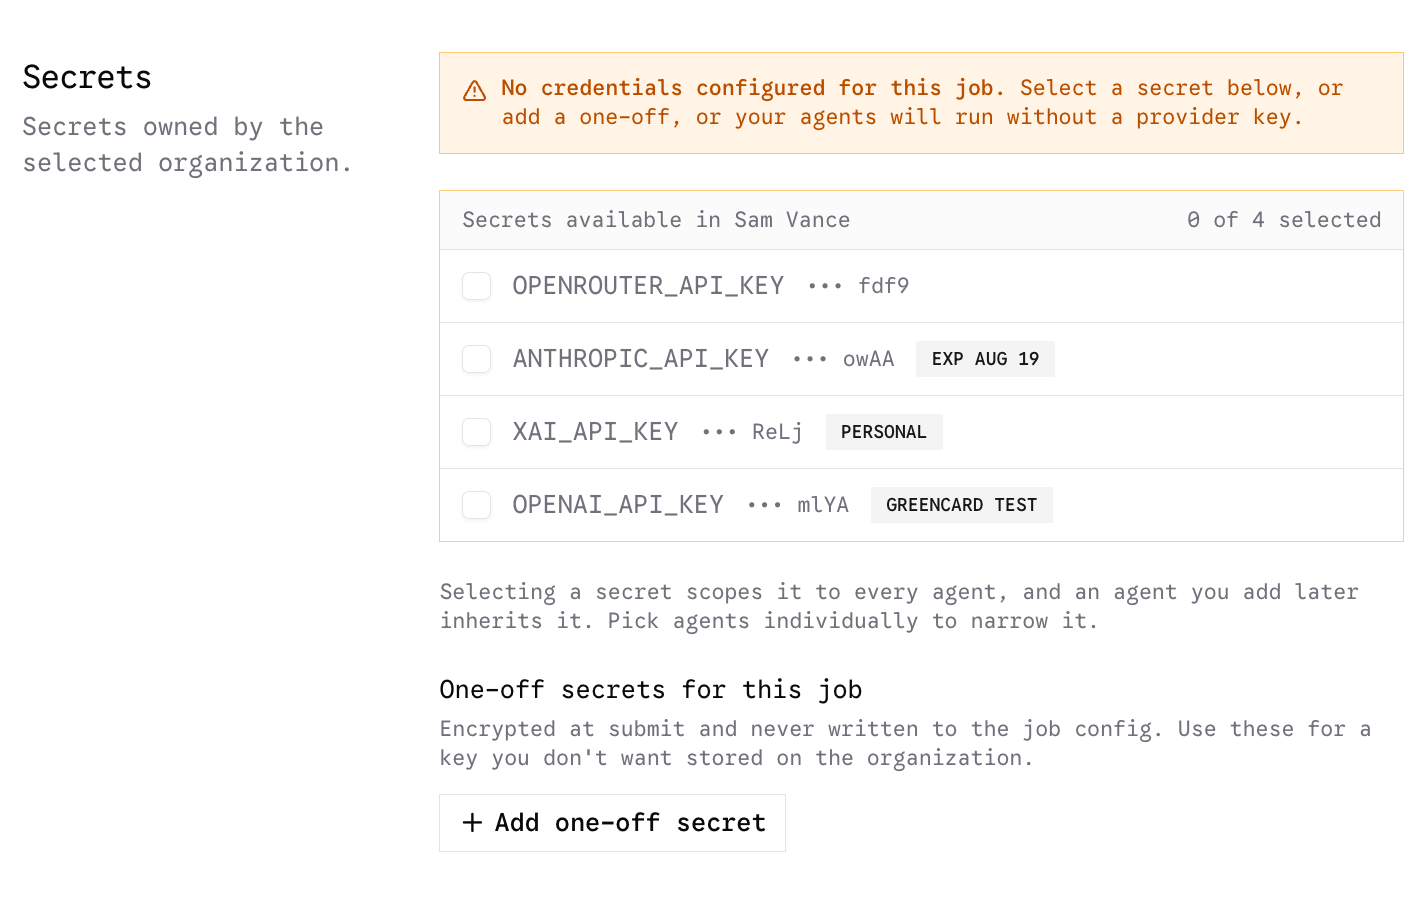
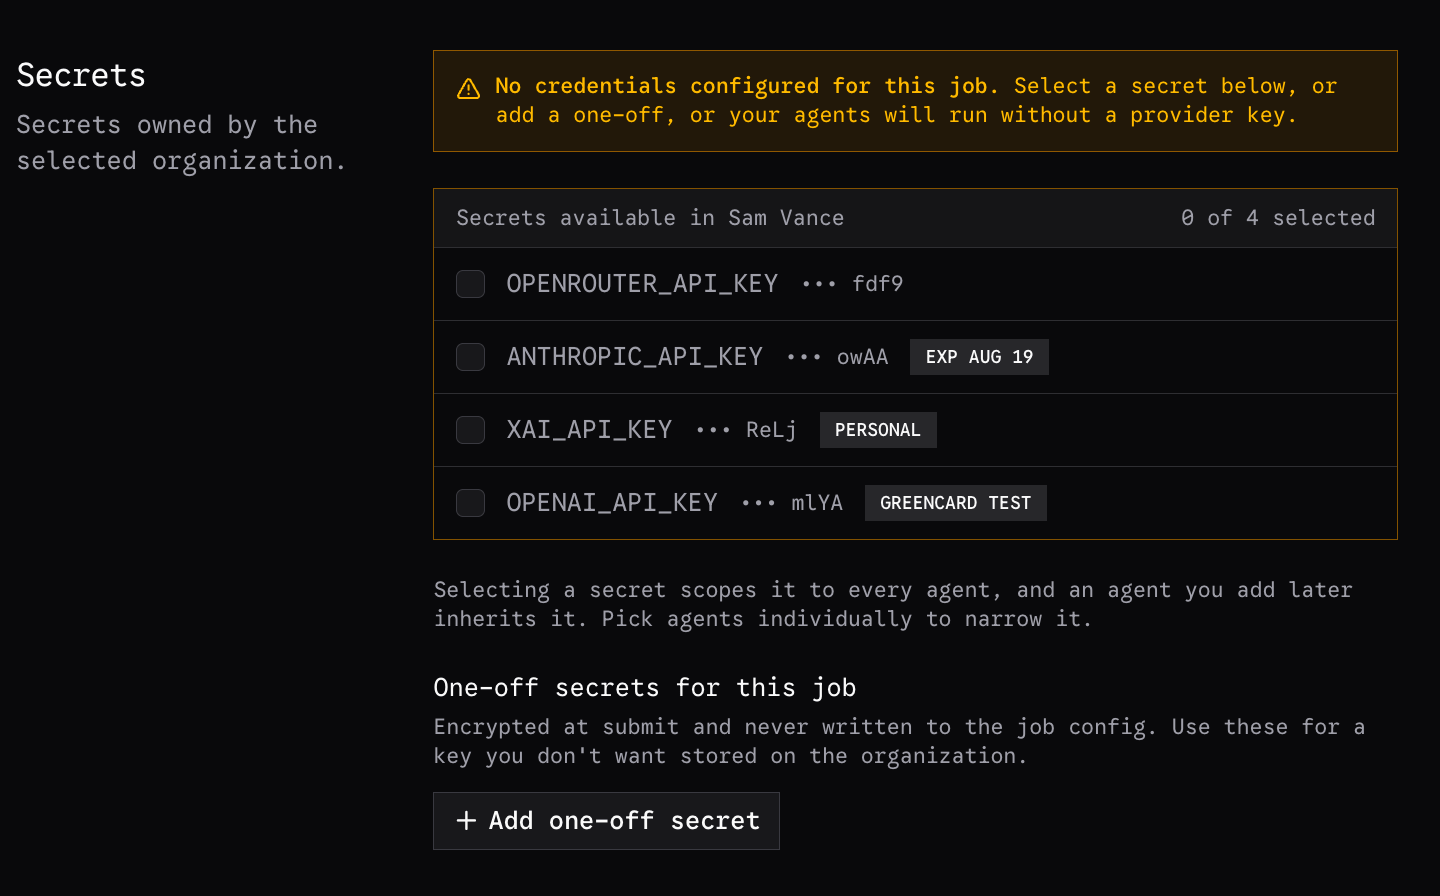
claude-code against openrouter/zai/glm-5.2, you would
select your organization’s OPENROUTER_API_KEY. It matches the model’s
openrouter/ provider, and claude-code reads its credential from
ANTHROPIC_API_KEY, so that is the name it is injected under. Any other
secrets you selected, an OPENAI_API_KEY, a token a task needs, arrive
unchanged.
If none of the selected secrets match the model’s provider, nothing is renamed
and the agent starts without a credential, so the trial fails with a
credential error. Selecting only OPENAI_API_KEY for that OpenRouter model
does exactly this: the key is injected under its own name, but it is not the
one the model needs.
Overall Job Settings
The overall job settings include the name, retries, attempts, concurrency, and timeout multiplier.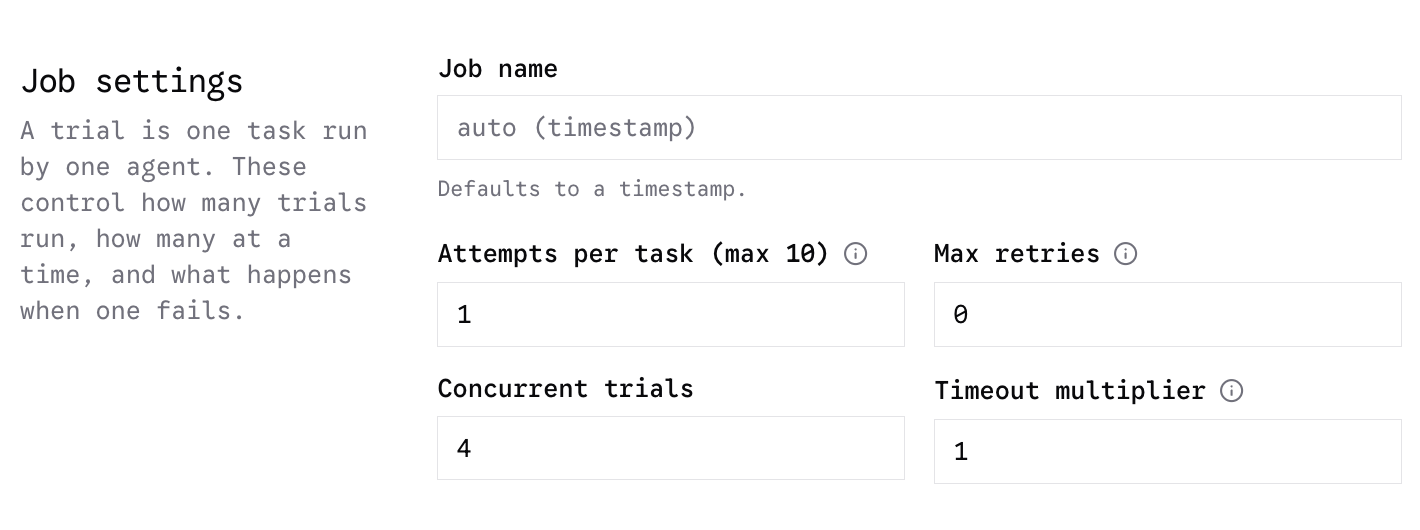
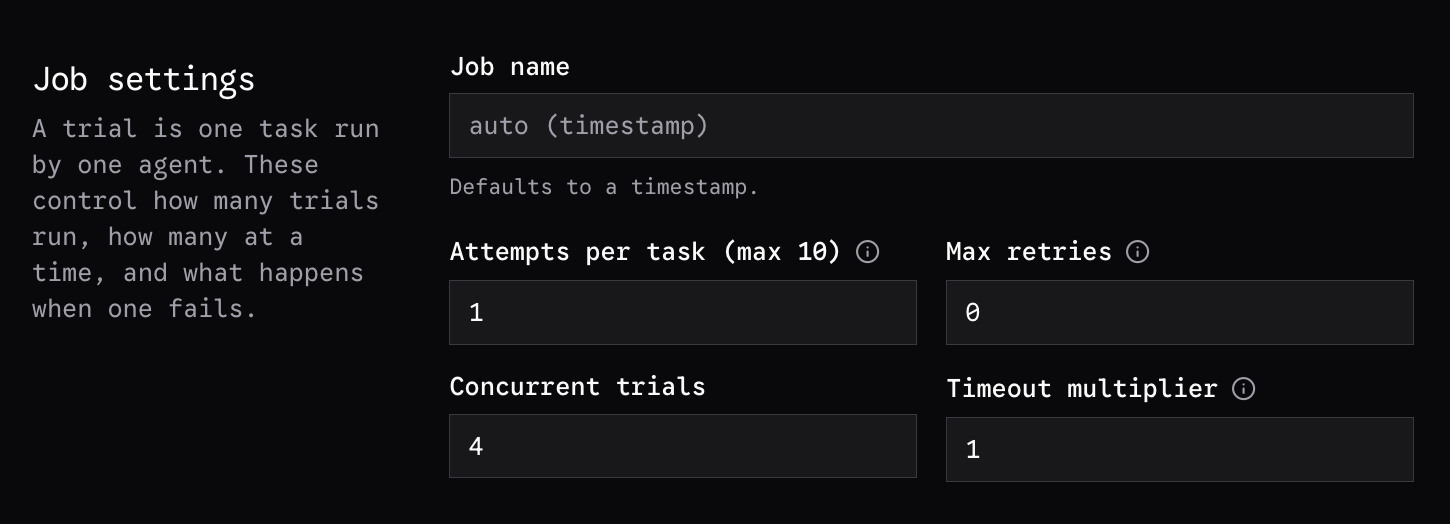
0, which disables retries. Eligibility depends on the exception include/exclude
settings and the remaining retry budget; a low score alone does not trigger a retry. See
Retry Settings.
Attempts
Attempts per task set the number of independent trials for each task and agent combination.
For example, 4 attempts with 3 retries allow up to 4 × (1 + 3) = 16 executions per task per agent:
each of the 4 trials can run once and retry up to 3 times. Retries replace a failed execution;
they do not add scored samples. There are still 4 trial slots, and a trial that exhausts its retries
may finish with an error instead of a score.
Concurrent Trials
Concurrency can be set based on your api key rate limits. Harbor Hub will monitor concurrency
and back off if rate limits are causing failures, but it is recommended to set concurrency
such that rate limit failures do not occur.
Timeout Multiplier
Finally, the timeout multiplier refers to the time limit an agent has to complete a task.
The time limit is declared in the task, but if you would like to modify this timeout without
modifying the task, you can set the timeout multiplier to something other than 1.0.
e.g. 0.5 gives half of the time limit, 2.0 gives twice as much time.
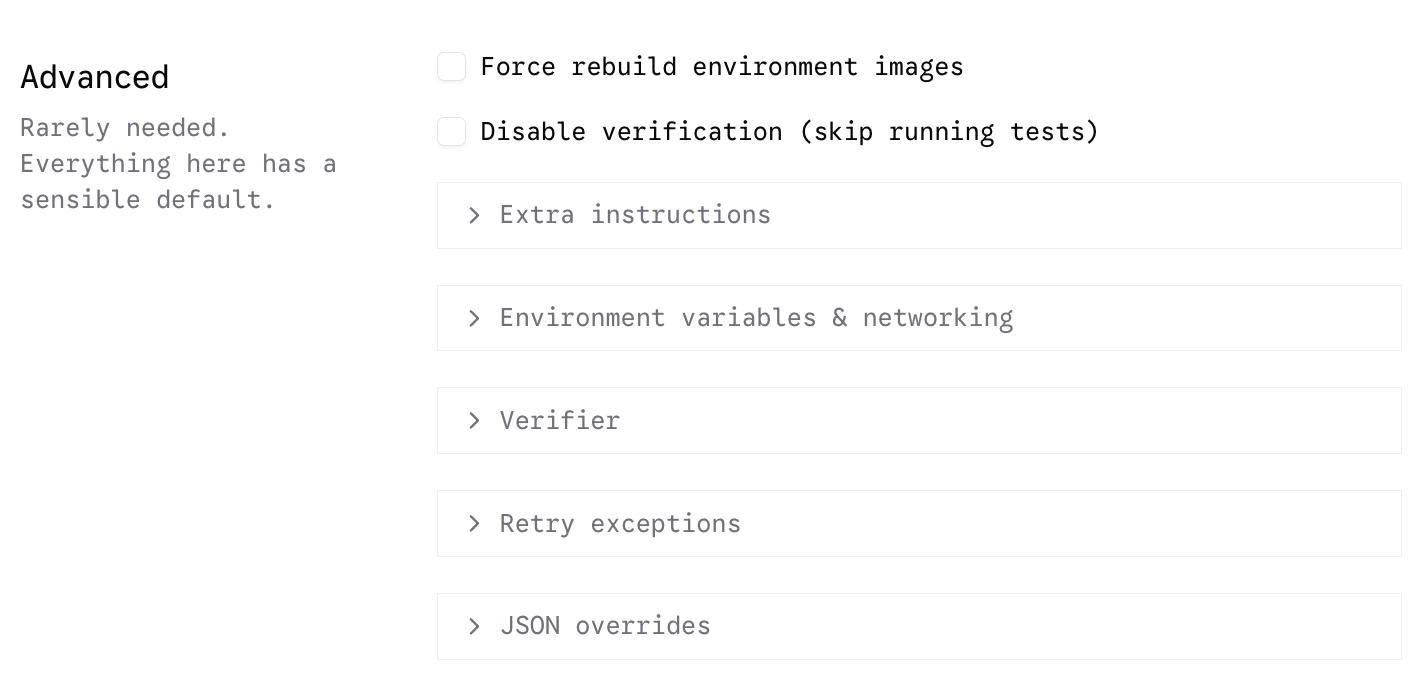
Advanced Job Settings